Step by step home design process is the most reliable way to create a well-planned, beautiful, and functional home. Following a proper process helps you avoid layout mistakes, budget overruns, poor storage planning, and design confusion. Whether you are designing a new flat or renovating a house in Delhi NCR, Gurgaon, or Noida, this guide explains the complete home design process used by professional interior designers.
Step 1: Understand Your Lifestyle & Home Requirements
The first step in the home design process is understanding your needs.
Ask yourself:
- Number of family members
- Bedrooms, bathrooms, and storage needs
- Work-from-home or study space
- Guest room or kids’ room planning
- Open or closed kitchen preference
This creates the foundation of your home interior design planning.
Step 2: Fix a Realistic Home Design Budget
Budget planning is essential before starting any design work.
Include:
- Interior design and execution cost
- Furniture and décor expenses
- Modular kitchen and wardrobe budget
- Lighting, appliances, and fittings
- 10–15% contingency buffer
A clear budget helps control your home interior design cost and prevents overspending.
Step 3: Measure Your Space & Study the Layout
Accurate site measurements avoid costly errors.
Check:
- Room length, width, and ceiling height
- Door, window, and balcony positions
- Pillars, beams, and structural walls
- Electrical and plumbing points
This step helps plan a perfect home interior layout.
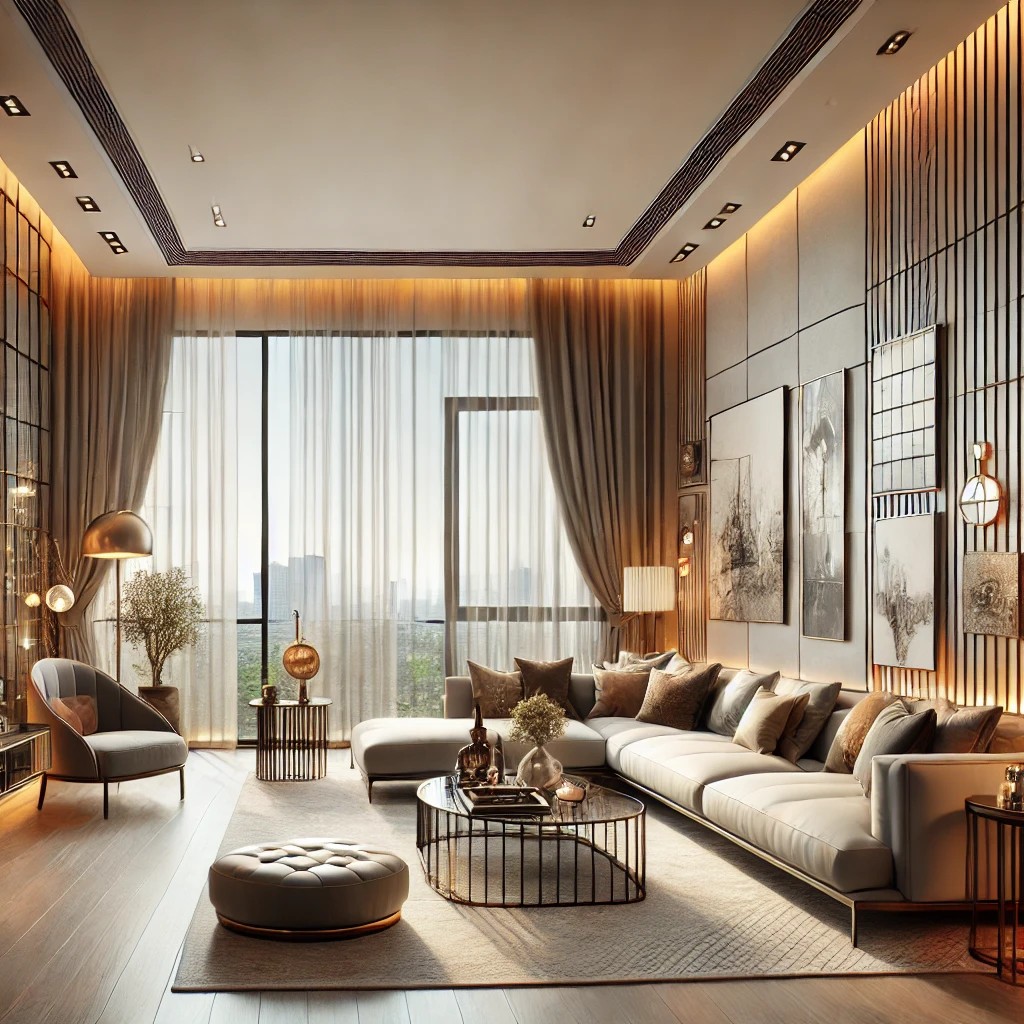
Step 4: Choose the Right Interior Design Style
Select one theme and follow it throughout the home.
Popular styles include:
- Modern home interior design
- Contemporary interiors
- Minimalist home design
- Scandinavian style
- Traditional Indian interiors
- Luxury home interiors
One consistent style creates a balanced and harmonious home design.
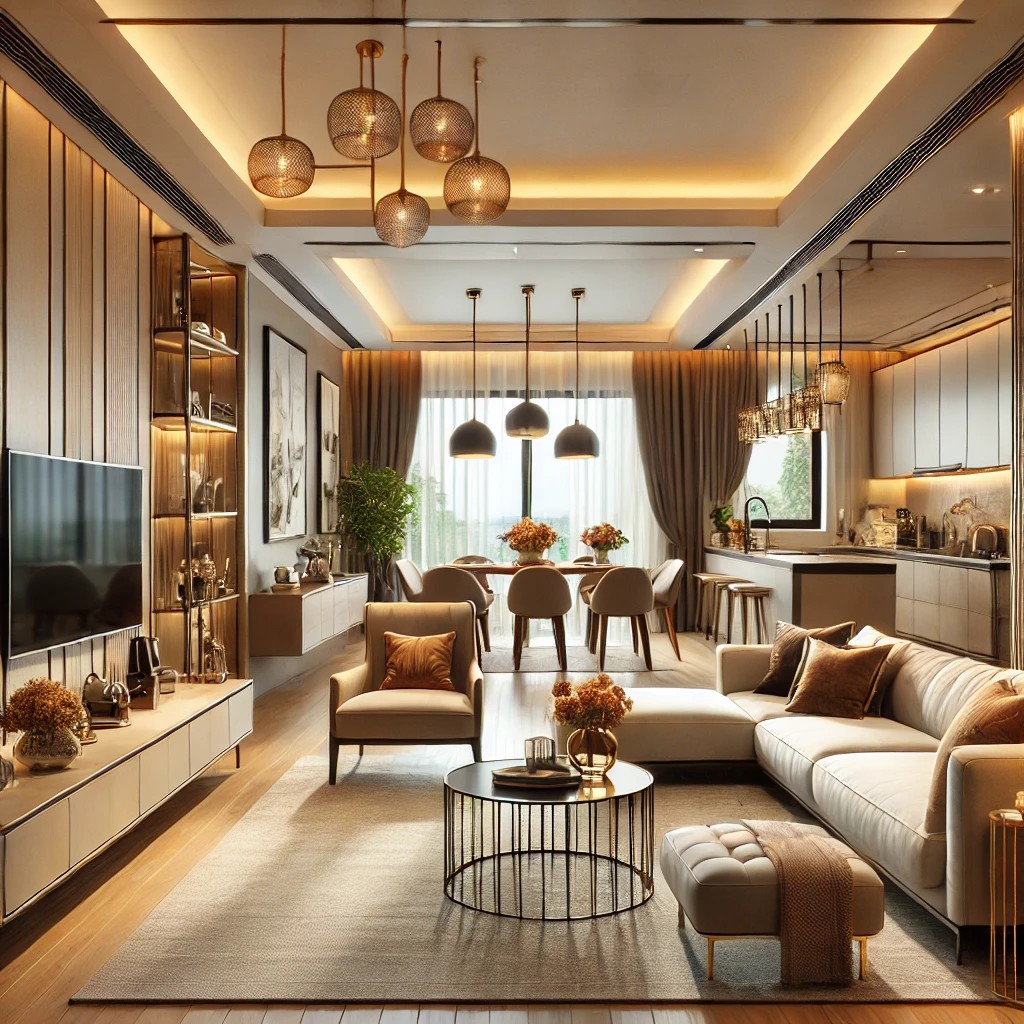
Step 5: Plan Zoning & Space Distribution
Divide your home into functional zones.
Main zones include:
- Living and entertainment zone
- Dining zone
- Kitchen and utility
- Bedroom and private zone
- Study or work zone
- Storage and service areas
Good zoning improves privacy, comfort, and movement flow.
Step 6: Design Furniture Layout Room by Room
Furniture layout defines daily comfort.
Living Room
- Place sofa facing TV or focal wall
- Keep walking paths clear
- Avoid blocking windows
Bedroom
- Place bed against a solid wall
- Keep wardrobes near dressing area
- Leave free space on both sides
Dining Area
- Place dining near kitchen
- Leave space for chair movement
- Add crockery or sideboard unit
Kitchen
Choose the correct layout:
- Straight kitchen – small homes
- L-shaped kitchen – medium homes
- U-shaped / island kitchen – large homes
Follow the work triangle rule (sink–hob–fridge).
Step 7: Select Color Palette & Wall Finishes
Colors define the mood of your home.
Tips:
- Use neutral base shades (white, beige, light grey)
- Add accent colors for personality
- Choose calm shades for bedrooms
- Use brighter tones for living areas
Always test samples before finalising.
Step 8: Choose Materials, Flooring & Finishes
Material selection affects durability and maintenance.
Choose:
- Vitrified tiles, wooden, vinyl, or marble flooring
- Laminates, acrylic, or veneer for wardrobes and kitchens
- Easy-to-clean wall paints and wallpapers
- Anti-skid bathroom tiles
Good materials ensure long-lasting and low-maintenance interiors.
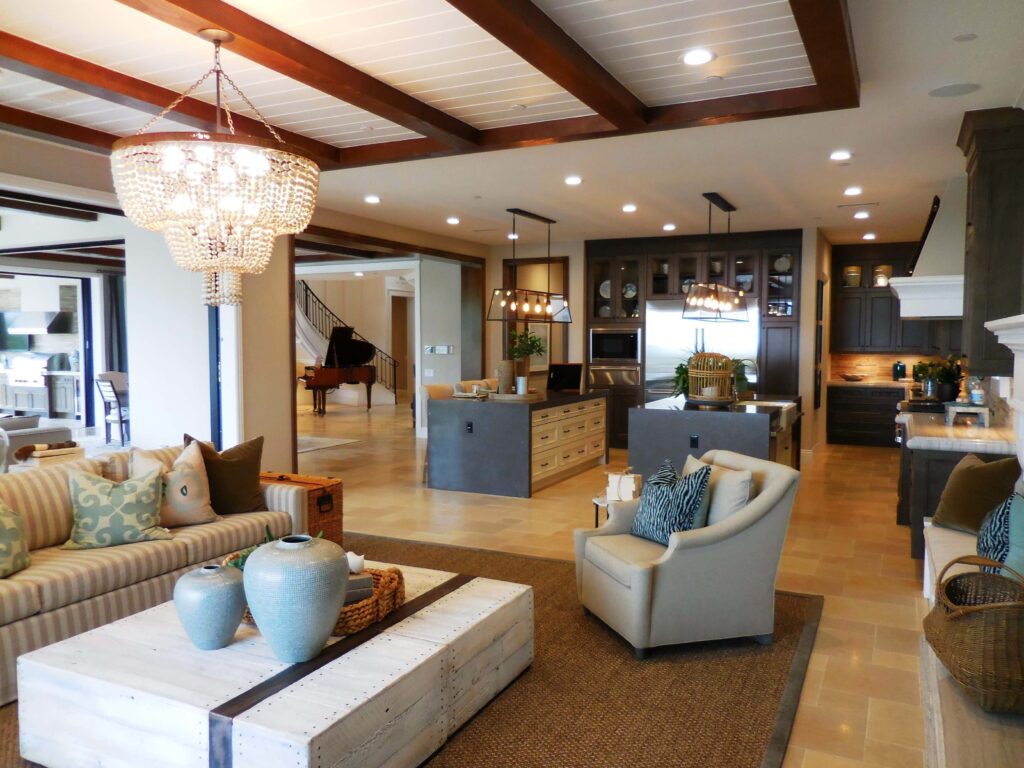
Step 9: Plan Lighting & Electrical Layout
Lighting transforms your home interiors.
Include:
- Ambient ceiling lighting
- Task lighting for kitchen and study
- Accent lighting for walls and décor
- Proper plug points and switch placements
Correct planning avoids future rewiring and wall breaking.
Step 10: Add Smart Storage Planning
Storage keeps your home clutter-free.
Include:
- Floor-to-ceiling wardrobes
- Storage beds and ottomans
- Wall-mounted cabinets and shelves
- Kitchen tall units and corner storage
Smart storage improves organisation and space utilisation.
Step 11: Prepare 2D Layouts & 3D Interior Designs
Before execution:
- Finalise furniture layouts
- Review 3D interior views
- Lock colors, materials, and finishes
- Approve drawings and measurements
This avoids design changes and extra cost during execution.
Step 12: Start Interior Execution & Site Supervision
Execution includes:
- Carpentry and modular installation
- False ceiling and lighting work
- Painting and wall finishes
- Flooring and fittings
Regular site visits ensure quality control and timely completion.
Step 13: Final Styling & Home Handover
The final stage includes:
- Furniture placement
- Curtains, cushions, and rugs
- Wall art and décor accessories
- Final inspection and cleaning
Your home is now ready to move in.
Quick Summary – Step by Step Home Design Process
- Understand lifestyle and requirements
- Fix a realistic interior design budget
- Measure space and analyse layout
- Choose one interior design style
- Divide home into functional zones
- Plan furniture layout room-wise
- Select color palette and wall finishes
- Choose flooring and material finishes
- Design lighting and electrical layout
- Add smart storage solutions
- Finalise 2D layouts and 3D designs
- Execute interiors with supervision
- Complete final styling and handover
Why Following a Step by Step Home Design Process Matters
This process helps you:
- Avoid layout and design mistakes
- Control home interior design cost
- Improve space utilisation and comfort
- Reduce delays and rework
- Create a beautiful and well-organised home
Call to Action
Planning your home design in Delhi NCR, Gurgaon, or Noida?
Explore our expert guides on home interior planning, interior design cost, and modern home design ideas, or consult a professional interior designer to follow the perfect step-by-step home design process and create your dream home with confidence.